


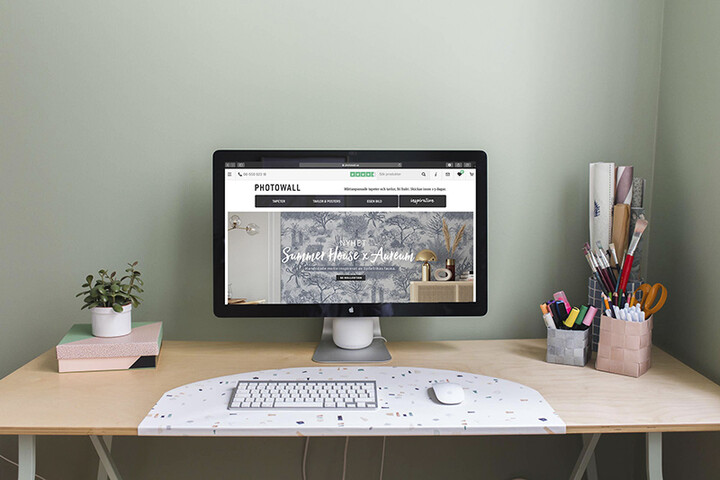
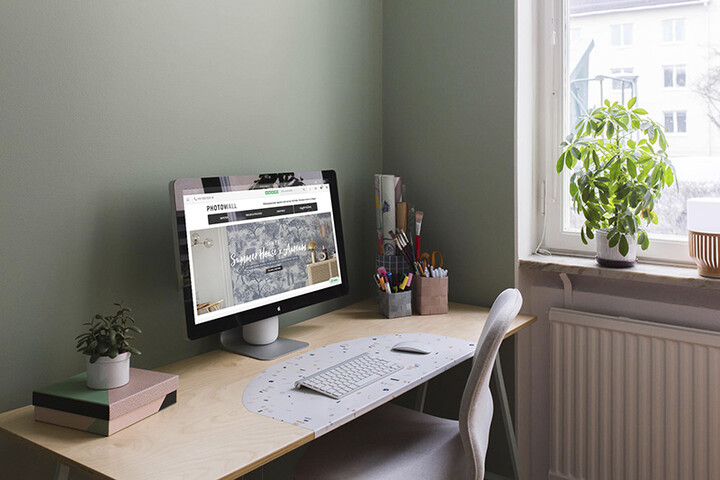
Did you know that our wallpaper also works very well as a desk pad? That's right! This is a quick DIY project with beautiful results. If you want to take it to the next level, you can use the same pattern to match walls of your work area with the desk pad.
Easy wallpaper desk pad
Difficulty
Easy
Time required
Less than 20 min

What you'll need:
- A piece of wallpaper (I used a 30 x 18-inch rectangle)
- Scissors
- Pen
- Ruler
- Double-sided adhesive tape
Instructions:
Start by measuring the amount of wallpaper you'll need. Hint! Each wallpaper roll is 18 inches wide – ideal for a desk pad. As long as your chosen wallpaper's pattern won't have upside-down or sideways elements when you attach your desk pad, you can cut the wallpaper parallel to its width and in a length of your choosing. I used the pattern Affinity Green.
Draw the shape you want for your desk pad. The easiest way (that doesn't require complex cutting) is to choose a rectangular shape. I rounded my desk pad edges by first drawing a curve at each corner and then cutting along each curve. Choose a shape that best suits your desk.
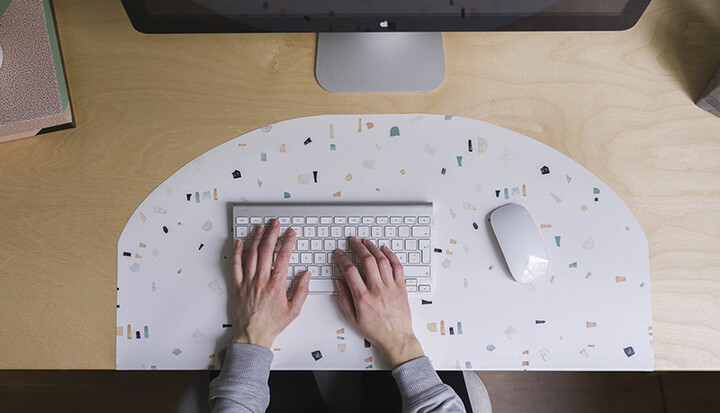
To attach the wallpaper, I used double-sided adhesive tape; that way, it's pretty easy to replace the wallpaper when I want a new look. (However, if you want a more permanent result, you can attach the desk pad with wallpaper paste.) I started by taping the wallpaper under the desk edge and then wrapping it over the edge. This gives the pad a nice finish, and you won't run the risk of corners that curl up over time. Continue securing the rest of the wallpaper with double-sided adhesive tape. Remember that, just as when you are wallpapering, you need to smooth out any air bubbles as you work.
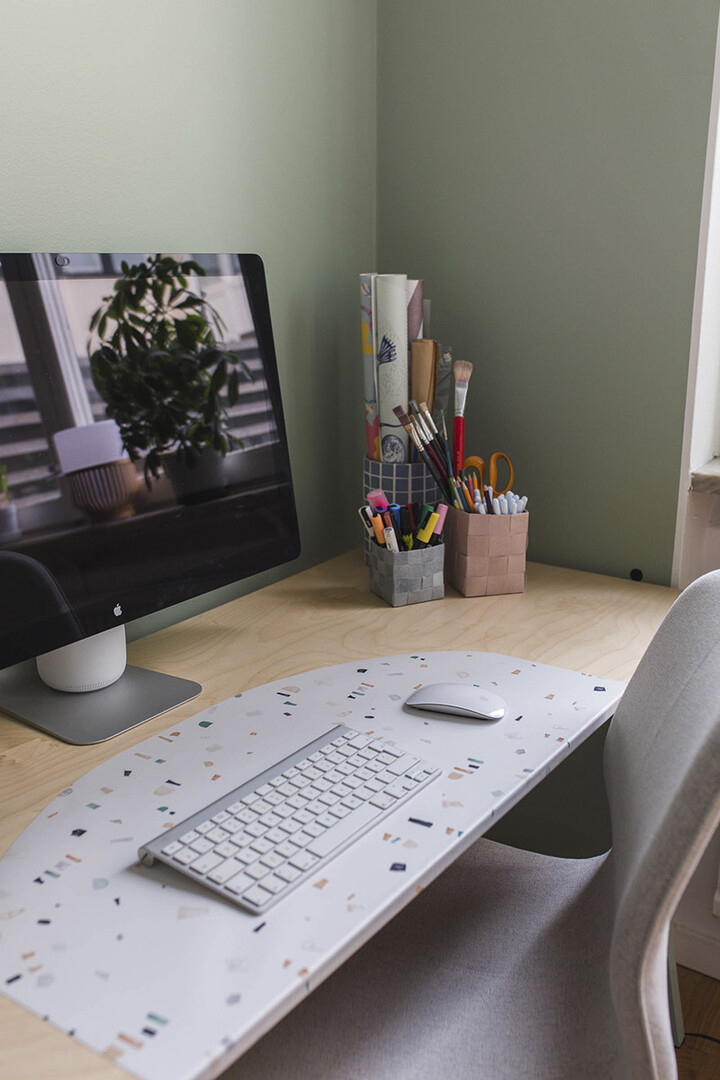
Easy as 1-2-3 – now you have a new, fresh desk pad that also works as a mouse pad!
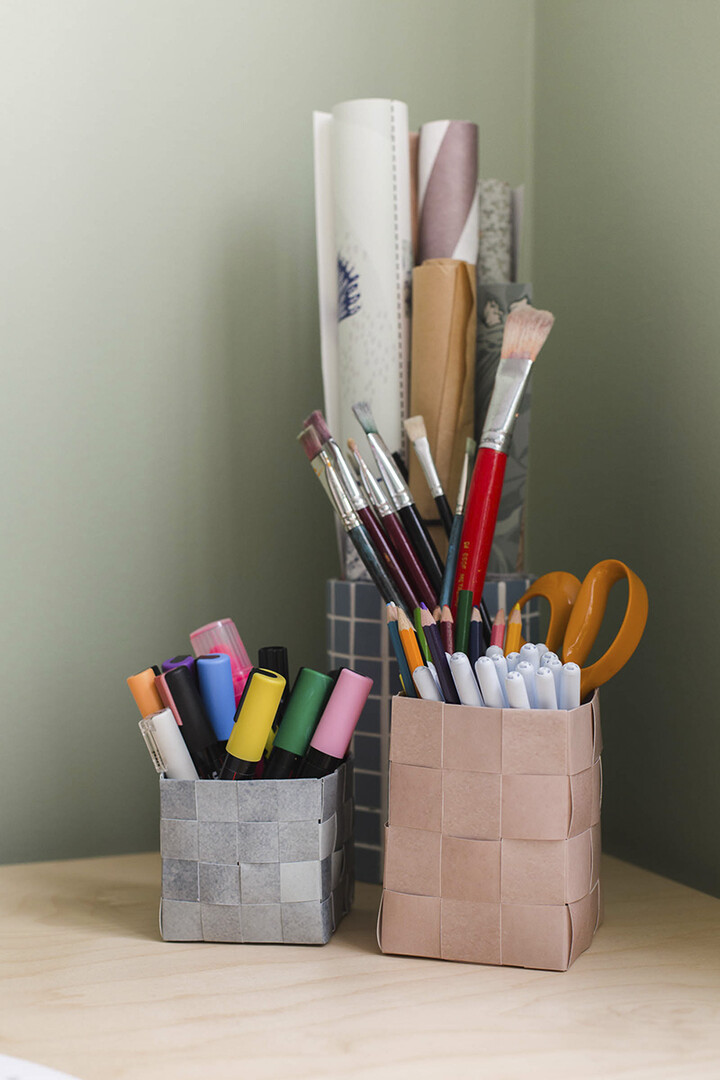
Woven baskets for your desk
You can never have enough baskets for storing small items. With these baskets, your desk will stay clean and uncluttered, making your work easier and more enjoyable. Wallpaper is perfect for making baskets. You can choose from lots of different patterns, and because wallpaper is slightly thicker than paper, it provides more stability.
Difficulty
Medium
Time required
30 min
What you'll need:
- Wallpaper
- Ruler
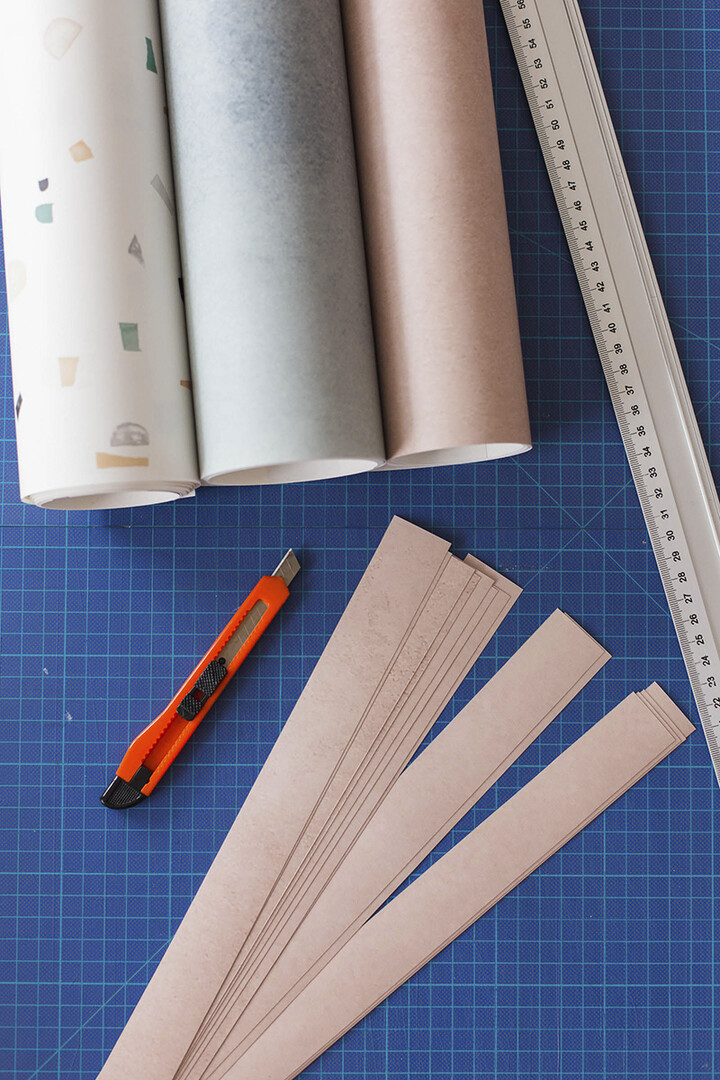
- Craft knife or utility knife with snap-off blade
- Paperclips or clothespins (to keep the basket section you're working with stable)
- Optional: double-sided adhesive tape or glue gun
Instructions:
Cut out ten 1 1/2 x 18-inch strips of wallpaper. (A wallpaper roll is 18 inches wide, so cut parallel to the width of the wallpaper.) Remember, though – you choose the pattern and the size of the basket. Adjust the dimensions and pattern directions of your strips as you please.
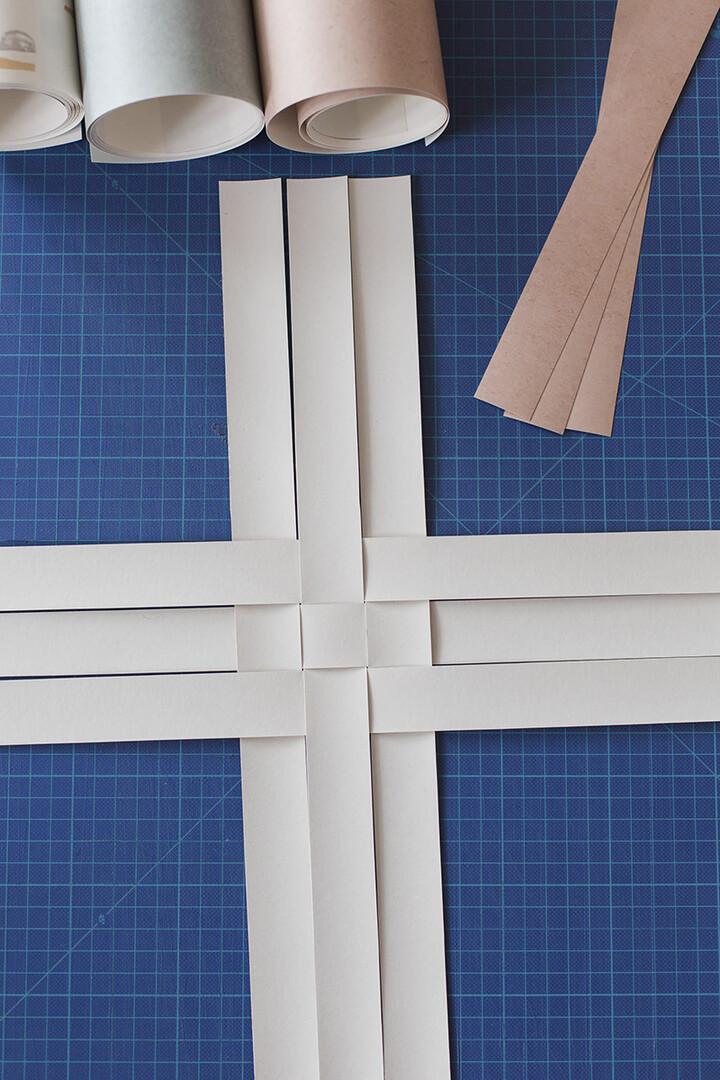
Lay out nine strips, front side down, 3 x 3 in a lattice pattern, and weave them together, over and under each other as in the picture above.
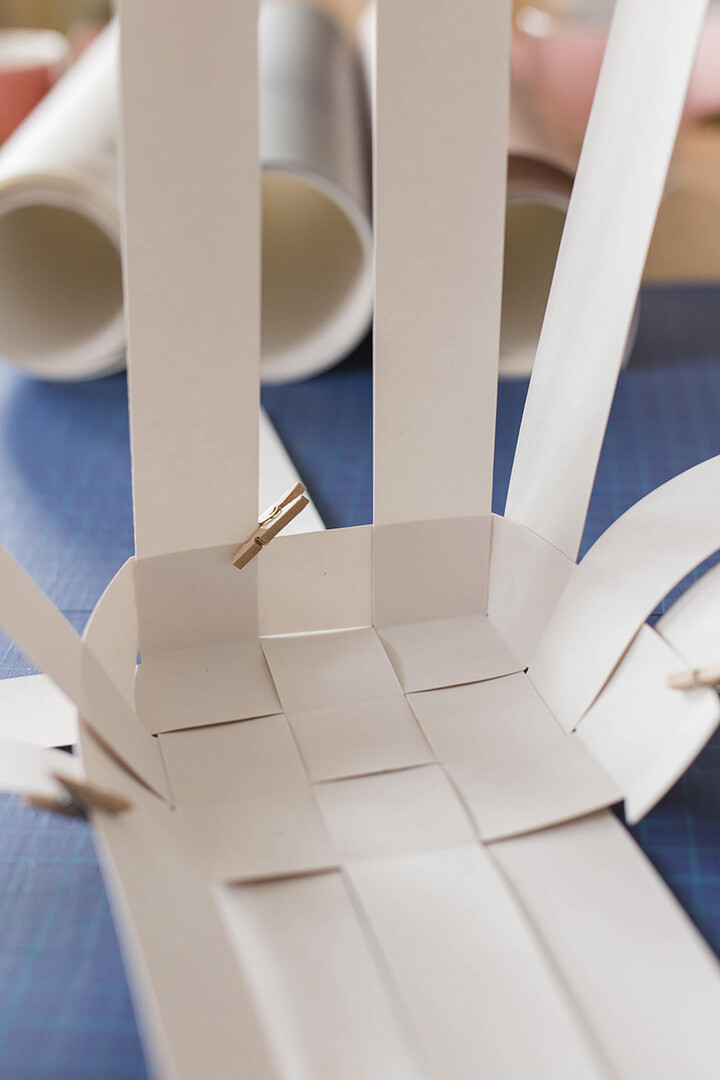
Fold up the strip ends to form the base of the basket. Take a new strip and weave it to build the wall of your basket, by placing the new strip in front of or behind alternating strips that are sticking up from the base of the basket. When you reach a basket corner, fold the strip to make more defined basket corners. To keep everything in place, you can either secure woven strips with a little glue, or use paperclips or clothespins. Remember to hide the strip ends by folding them inside and underneath outer strips. Secure with glue or tape if you like. Continue to weave new strips along the basket's upper edge to create the desired height for your basket.
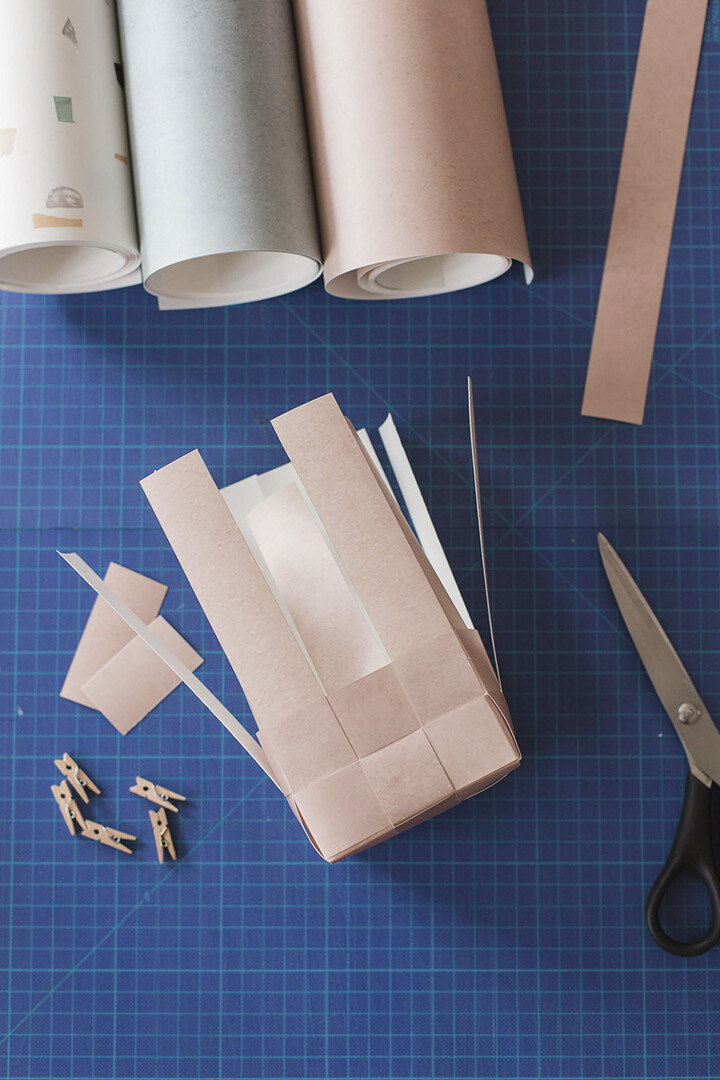
Now you've made your basket as tall as you want it. Fold the remaining strip ends over the basket's upper edge. If you have not used any glue or tape, braid these ends into the basket walls. If you prefer, attach the strips to the inside of the basket with glue or double-sided adhesive tape.
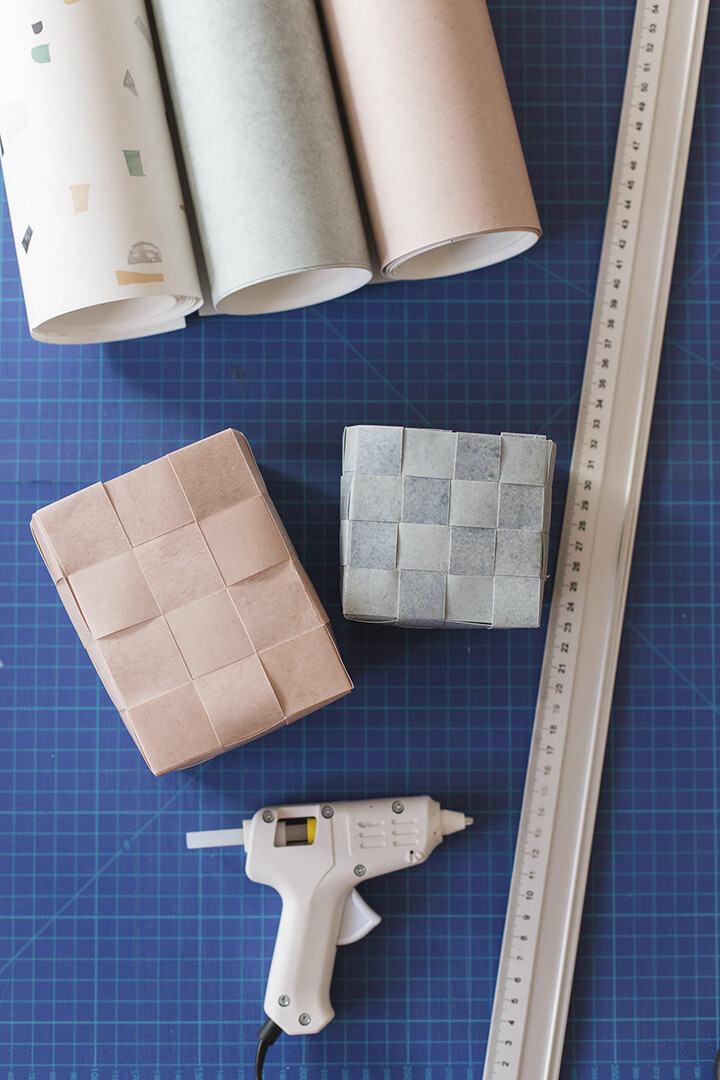
For an even more attractive effect, make several baskets, each in strips of a different width. The wallpapers I used are: Watercolor Pastel Pink and Watercolor Gray. All that's left is to fill the baskets with pencils, brushes, scissors, or other small items, and place them on your desk.
---
Anna María Larsson is a creator, inspirator and DIY professional. She is of the firm opinion that everyone is creative and can come up with ideas; it only requires a little training. She appears on a regular basis on TV, holds workshops and gives lectures. She shares what she creates and offers inspiration with her blog and Instagram account @dnilva.