 Australia
 Austria
 Belgium (Dutch)
 Canada (English)
 Denmark
 Estonia
 Finland
 France
 Germany
 Ireland
 Italy
Italy
 Luxembourg (French)
 Netherlands
 New Zealand
 Norway
 Poland
 Portugal
 Romania
 Singapore
 Spain
Spain
 Sweden
 Switzerland (French)
 USA
USA
 United Kingdom
 Other Countries


When it comes to refreshing the look of a room, understanding how to remove a wall mural border is essential. In this article, you'll learn the difference between removing wall mural and their borders, the preliminary steps to undertake before removal, techniques tailored to different materials, and post-removal wall care. Plus, to simplify your task, we've also compiled a handy list of do's and don'ts to remember.
Removing wall mural borders vs. removing wall murals: What's the difference?
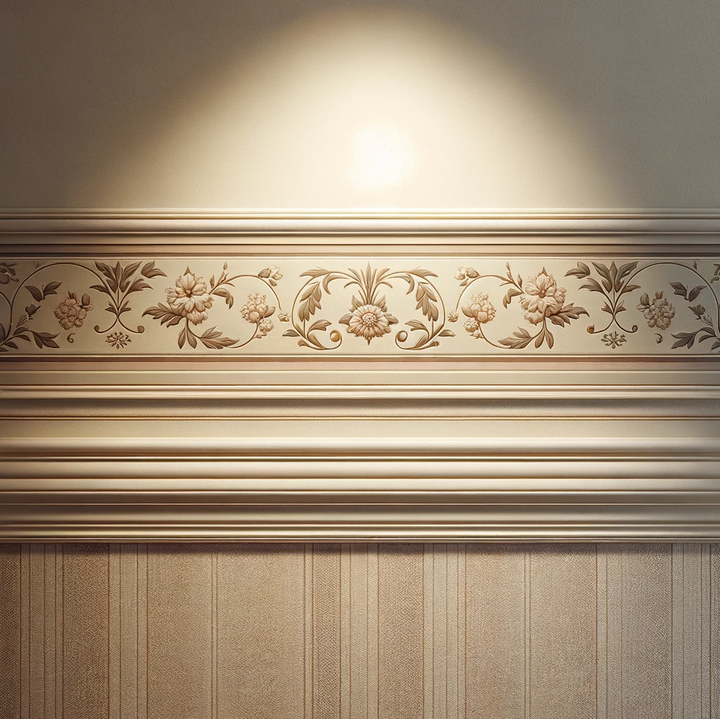
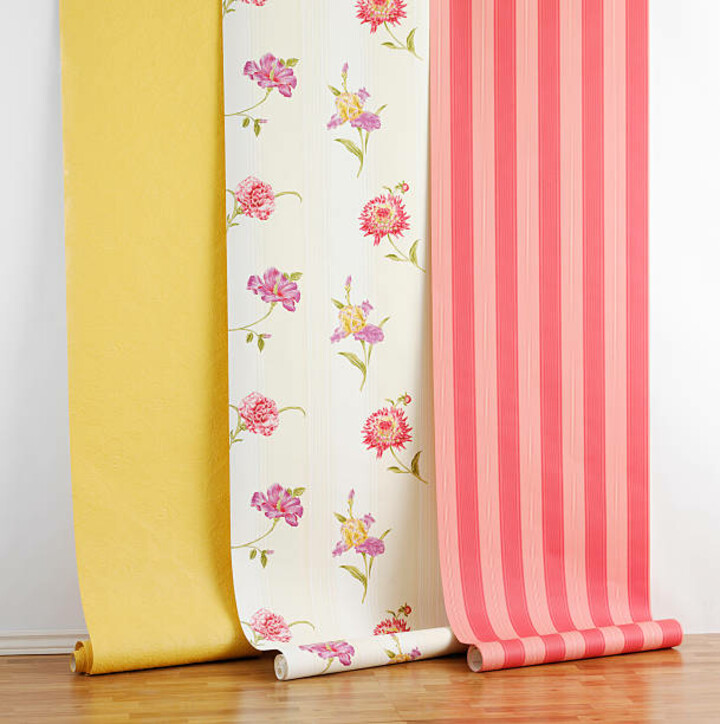
Wall mural borders and wall murals, while similar in purpose, differ in their coverage and often in their materials. A wall mural typically covers a more significant portion of a wall, showcasing a scene, pattern, or picture. In contrast, a wall mural border is a thinner strip that usually runs along the wall's top, middle, or bottom, adding a decorative touch.
When removing them, the techniques may differ. Due to their limited coverage, mural borders are typically easier and quicker to remove than an entire mural. For a specialized guide on removing wall murals as a whole, refer to this link: How to remove wall murals
Preliminary steps: Things to do before removing a wall mural border
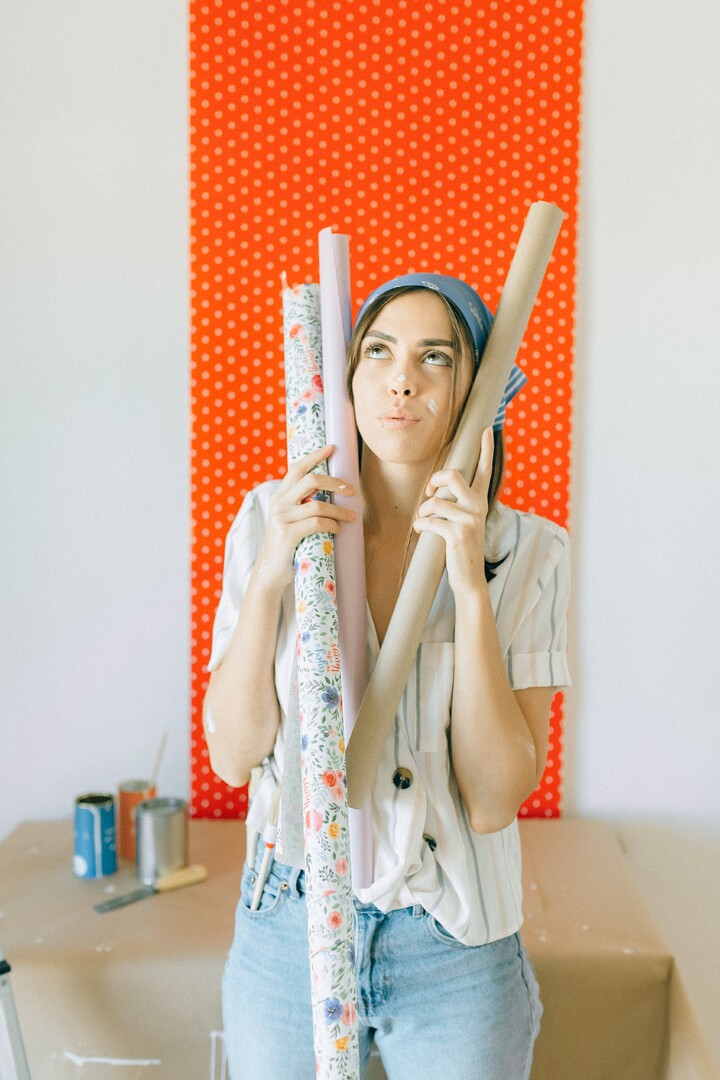
Before diving straight into the removal process, being well-prepared is helpful. Preparing adequately ensures a smoother, safer, and more effective mural border removal experience. Here are the steps you should consider:
Step 1: Inspect the border and wall
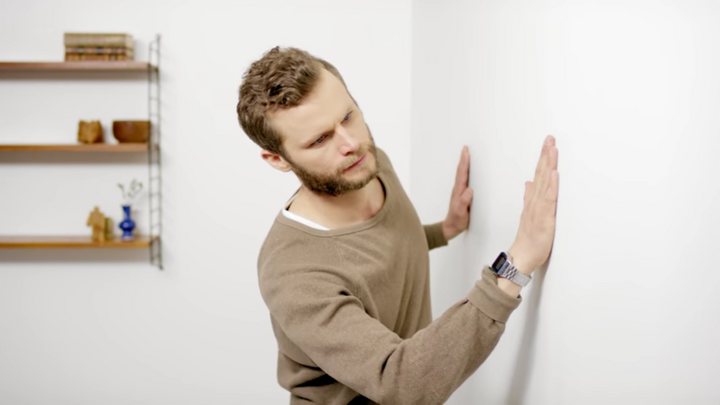
Start by closely inspecting the mural border and the wall. Look for any loose ends or sections where the border might be peeling off. This can give you an insight into where you might begin the removal process.
Step 2: Protect your floors
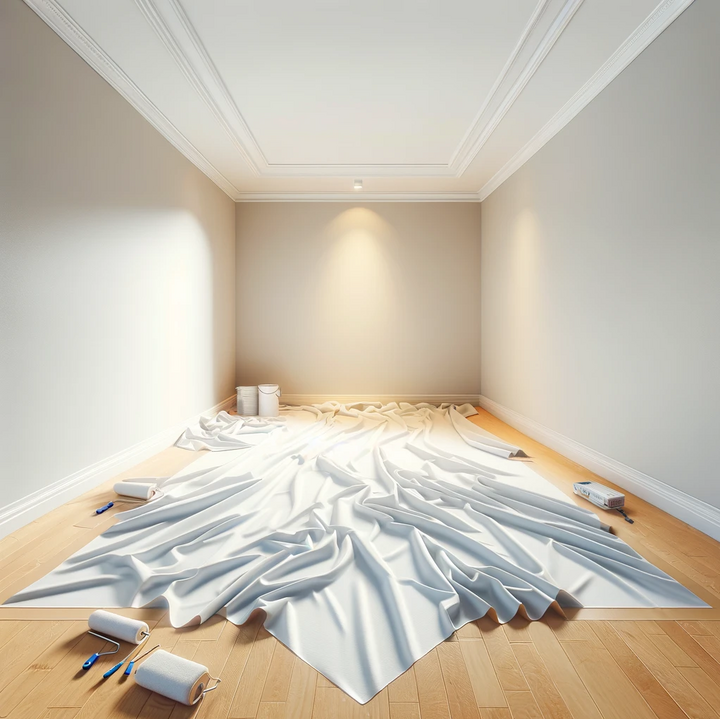
Spread out drop cloths or plastic sheeting on the floor beneath the wall mural border. This will catch any moisture, adhesive residue, or debris that might fall during the removal process, ensuring an easier cleanup and safeguarding your flooring from potential damage.
Step 3: Test a small section
Before you proceed to remove the entire border, test a small section. This will show you how easily it will come off and if the wall will likely be damaged.
Step 4: Ventilate the room
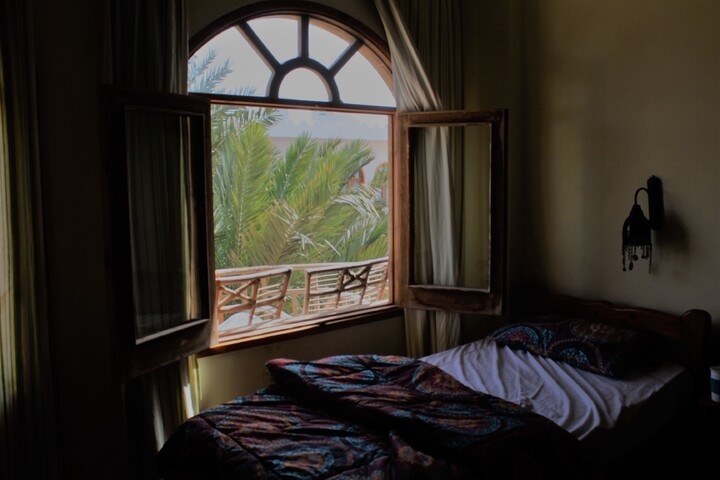
Ensure the room is well-ventilated, especially if you plan to use any chemical solutions. Open windows and doors, and consider using a fan.
Step 5: Protect surrounding areas
If the border is near furniture or other décor, consider moving these items or covering them with plastic to protect them from water or adhesive residue.
How to remove wall mural border according to the type of material
Removing a wall mural border is not a one-size-fits-all process. Different materials require different approaches, and understanding the makeup of your border is crucial to achieving smooth, damage-free removal. Whether you're dealing with peel-and-stick, fabric-based, natural material, or even textured borders, each has unique challenges and techniques. In this section, we'll delve into the various methods of removal tailored to each material type, ensuring you have a comprehensive guide at your fingertips.
1. How to remove peel-and-stick and non-woven wall mural border
Peel-and-stick and non-woven wall mural borders have gained popularity for their ease of application. These materials are designed with convenience in mind, both for installation and removal. The non-woven fabric is robust yet flexible, ensuring it doesn't tear easily, while peel-and-stick murals come with an adhesive backing that sticks well but can be peeled off without leaving a stubborn residue. Photowall offers high-quality peel-and-stick and non-woven wall murals that guarantee not just beauty but also ease of removal.
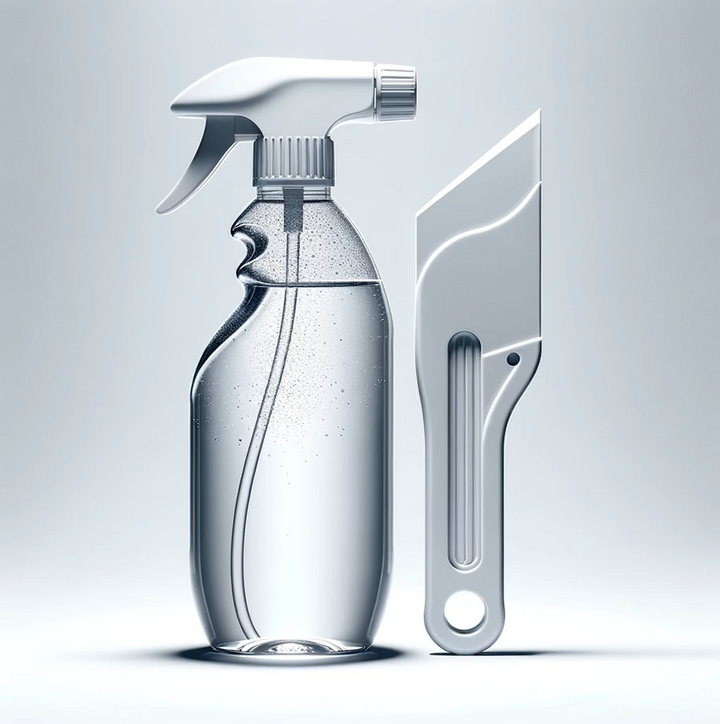
Things you will need
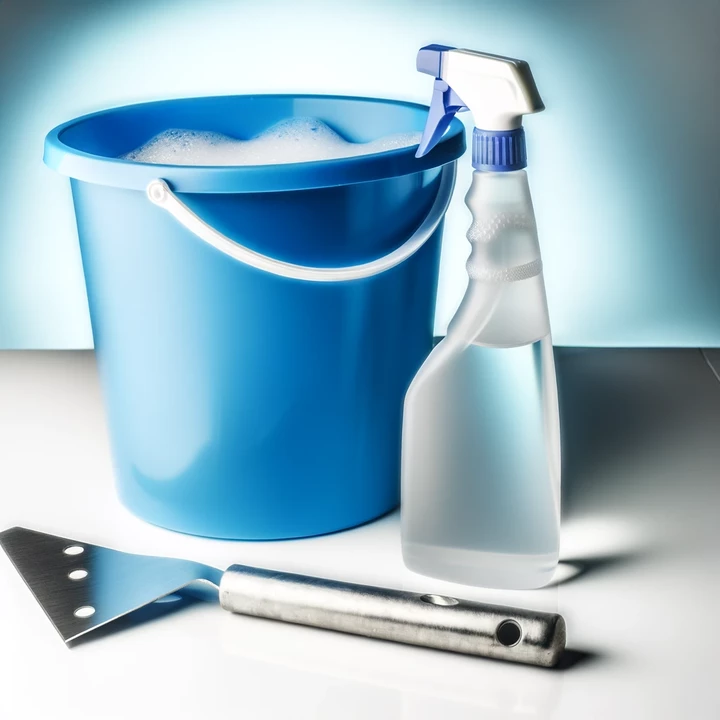
• Warm, soapy water: To dampen and soften the border
• Spray bottle: To spray the water onto the border
• Plastic scraper or putty knife: To gently lift edges and assist in peeling
Easy-to-follow guide
With the tools above, follow the steps below to remove your non-woven or self-adhesive wall mural borders.
Step 1: Soften the border
Fill your spray bottle with warm, soapy water and spray it onto a section of the mural border. Let it sit for a few minutes to allow the water to penetrate and soften the adhesive.
Step 2: Peel from the edge
Start at a corner or edge of the border. Use the plastic scraper to lift the edge of the border gently, then slowly and steadily begin to peel it away. If it resists, spray more water and let it sit longer.
Step 3: Work in sections
Instead of trying to peel off the entire border at once, work in manageable sections, spraying and peeling as you go.
2. How to remove water-resistant types
Water-resistant wall mural borders present a unique challenge due to their design and composition. Typically, these borders are made from vinyl or contain a layer of vinyl coating, making them resistant to water and other solvents. This protective barrier can make the removal process more intricate. The resistance to moisture means that the typical methods of dampening and peeling might not be as effective, requiring a bit more patience and technique.
Things you will need
• Warm, soapy water: To soften the adhesive and clean residues.
• Spray bottle: For applying the water mixture.
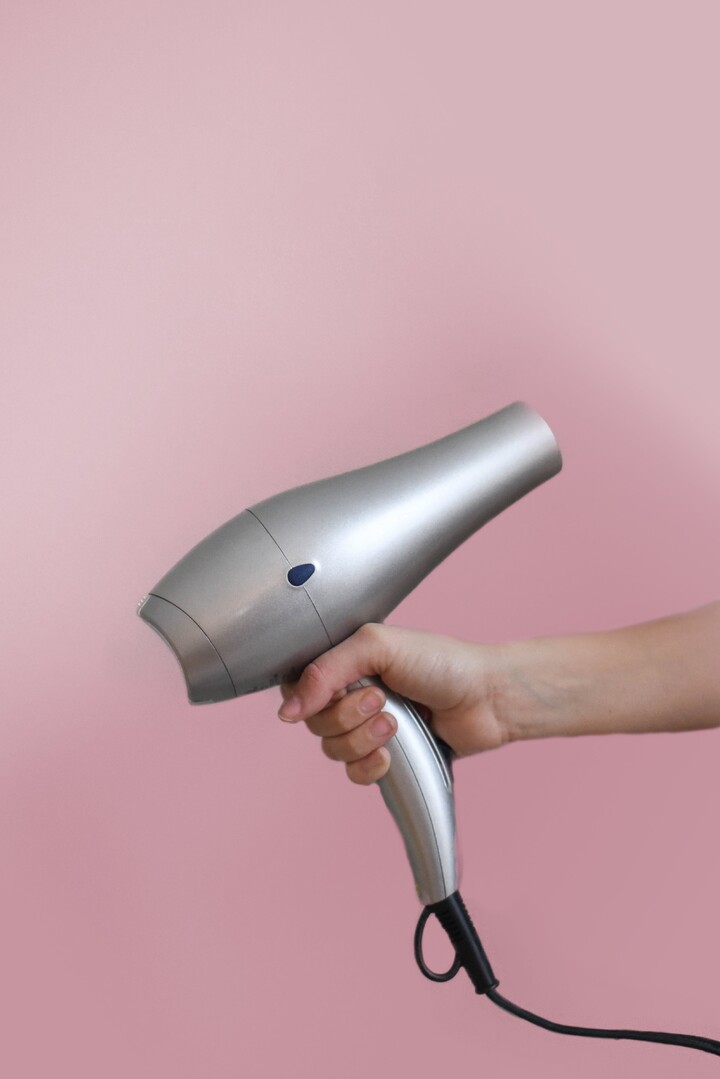
• Hair dryer or heat gun: To warm and loosen the adhesive without causing damage.
• Plastic scraper or putty knife: For gently lifting edges and assisting in peeling.
• Adhesive remover: In case of stubborn adhesive residues.
Easy-to-follow guide
With the tools listed, removing water-resistant mural borders is made simpler:
Step 1: Heat the border
Begin by warming a section of the border with a hair dryer or heat gun, keeping it a few inches away to prevent overheating or damage. This heat aids in loosening the underlying adhesive.
Step 2: Apply warm soapy water
Fill your spray bottle with the warm, soapy water mixture. Spray this directly onto the heated section of the mural border, allowing it to sit for a few minutes. The combination of heat and soapy water can sometimes weaken the water-resistant properties, making the removal process smoother.
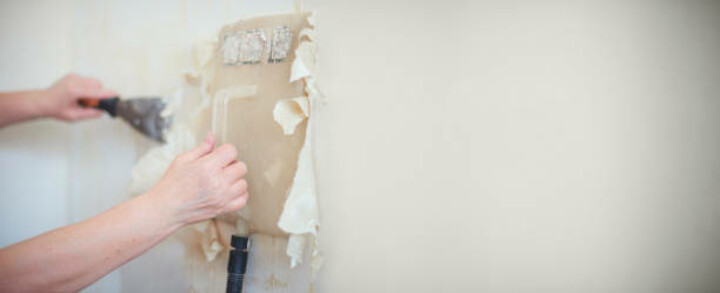
Step 3: Begin peeling
After treating with heat and the soapy solution, use the plastic scraper or putty knife to lift an edge gently. Gradually peel it back, making sure to reheat and reapply the soapy water to sections that resist.
3. How to remove fabric-based wall mural borders
Fabric-based wall mural borders are often made from materials like linen, silk, cotton, or a blend of these. The adhesive used to keep these fabrics firmly attached to walls is quite strong, making the removal process a bit challenging. Moreover, there's the added risk of tearing the fabric or leaving behind sticky residues on the wall.
Things you will need
• Steamer: To soften the adhesive without soaking the fabric.
• Plastic scraper or putty knife: To gently lift the border edges without causing damage.
• Warm water: To assist with cleaning.
Easy-to-follow guide
Navigating the intricacies of fabric-based wall mural borders requires a combination of patience and the right tools. Here's a straightforward guide to help you through the process.
Step 1: Steam the fabric border
Start by using a steamer to release the adhesive behind the fabric gently. Make sure to steam in sections, holding the steamer close enough to soften the glue effectively but not so close as to overly saturate or damage the fabric.
Step 2: Peel gently
Once you've steamed a section, try to lift an edge with the plastic scraper or putty knife. If the border begins to peel away smoothly, continue in this manner, steaming and then peeling in sections.
4. How to remove wall mural borders made of natural materials
Natural material wall mural borders are often composed of materials like bamboo, jute, grasscloth, or cork. Their natural composition means they can be sensitive to moisture and are more prone to tearing than synthetic materials. Removing them requires a gentle touch and special precautions to prevent damage.
Things you will need
• Spray bottle filled with water: For dampening the border without over-soaking.
• Plastic scraper or putty knife: For gently lifting the border edges.
Easy-to-follow guide
Working with natural materials is a delicate task, but with care and precision, you can remove wall mural borders made of such materials without causing harm.
Step 1: Lightly dampen the border
Fill a spray bottle with water and lightly mist a section of the mural border. Be careful not to over-wet it, as natural materials can be sensitive to moisture. The goal is to slightly dampen the border to ease the adhesive's grip without soaking the material.
Step 2: Peel gently
After lightly dampening a section, attempt to lift an edge using the plastic scraper or putty knife. Work slowly and carefully to prevent any tearing. If you encounter resistance, you may need to apply a bit more water and wait a few minutes before trying again.
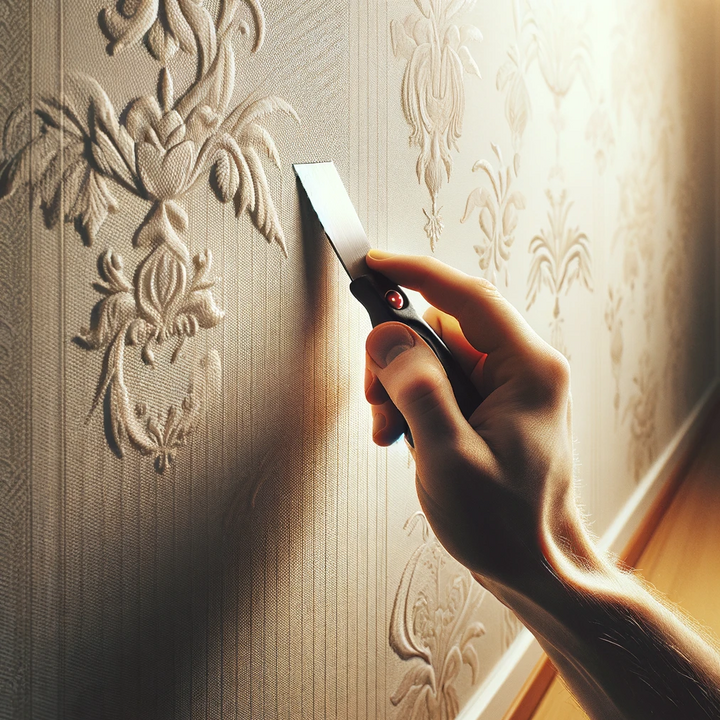
5. How to remove textured wall mural borders
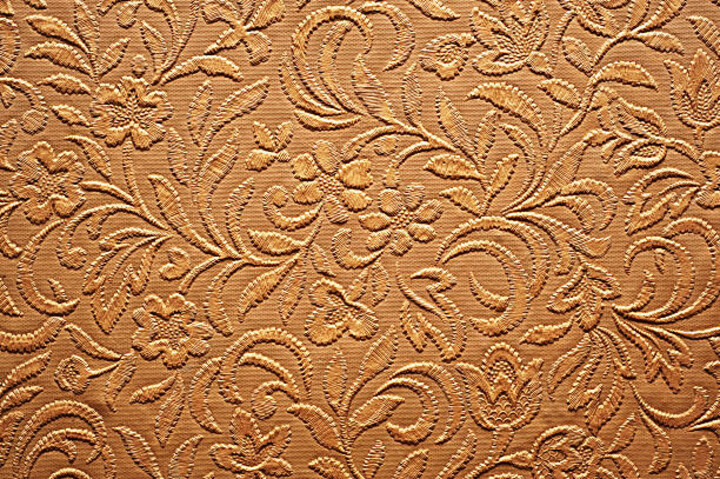
Textured wall mural borders are often crafted from materials such as embossed vinyl, grasscloth, or even certain kinds of plaster; they have raised patterns. Their uneven and unique surfaces, however, can make them particularly challenging to remove. The grooves and ridges can harbor more adhesive than flat surfaces, and there's also a risk of damaging the wall's texture underneath. But with the right tools and techniques, you can ensure a smooth removal process.
Things you will need
• Steamer or warm water: To help loosen the adhesive beneath the textured surface.
• Spray bottle: If using water, for an even application.
• Plastic scraper or putty knife: For gently lifting and peeling the border without damaging the texture.
Easy-to-follow guide
Removing textured wall mural borders may seem daunting due to their unique surface, but with systematic steps, the task becomes manageable.
Step 1: Loosen the adhesive
Run a steamer over the textured mural border in sections, allowing the steam to penetrate the crevices and loosen the adhesive. If using warm water, fill the spray bottle and mist the border evenly, allowing it to sit for a few minutes.
Step 2: Remove the wall mural border
Using the plastic scraper or putty knife, gently lift an edge of the textured border. If it begins to peel away without too much resistance, continue to work your way across, always being mindful of the underlying texture.
Post-removal wall care: Things to do after removing the mural border

Post-removal wall care is equally essential to maintain the integrity and appearance of your walls. Taking the time to tend to your wall post-removal can ensure it's ready for any future decorations or just simply bask in its clean, border-free look. Here are some steps to consider:
Step 1: Removing remaining glue
Before any other steps, address the often sticky aftermath. Some adhesive residues might linger post-border removal. Utilize a glue remover or adhesive cleaner to get rid of this glue gently. Remember to follow manufacturer guidelines and conduct a patch test on a less visible wall section first to avert potential discoloration or damage. Here’s a complete guide on removing wall mural glue: How to remove wall mural glue
Step 2: Thorough cleaning
Once the adhesive remnants are addressed, move on to cleaning the wall to remove any dust or loose particles. A soft, damp cloth can handle most of this. For stubborn residues, mild detergent works wonders. After cleaning, dry the wall adequately to deter mold or mildew growth.
Step 3: Wall inspection
With a clean wall, inspect for damages. The removal process might have caused scratches, gouges, or minor dents. Identifying these early can prevent more significant issues down the line.
Step 4: Repair and patch
Now that you've located any imperfections, proceed to repair. Utilize a spackling compound or a wall patch kit for holes or cracks. After drying, sand the area to integrate the repair seamlessly with the rest of the wall.
Step 5: Priming
If redecorating is in your plans, priming is essential. A fresh coat of primer provides an even surface and boosts adhesion, be it for paint or a new wallpaper.
By diligently following this post-removal roadmap, your walls won't just look better; they'll be healthier and more resilient, ready to complement whatever decor choices you make next. When you’re ready for a new look, check this guide on choosing a wall mural that’s best for your room: How to choose wall mural
The do's and don'ts of removing wall mural border
Here's a quick rundown of the essential dos and don'ts to keep in mind during the process of removing wall mural borders:
Dos
• Pre-test an area: Begin by testing a small, inconspicuous area of the wall to ensure your removal method doesn't damage the paint or wall surface.
• Use the right tools: Always have the recommended tools on hand, as improvising can lead to unintended damage.
• Be patient: Rushing the removal process increases the risk of wall damage or tearing the border. Give adhesives and solvents time to work, and gently ease the border off.
Don'ts
• Don't over-wet the wall: Over-saturating the wall can weaken the underlying drywall and create more problems.
• Avoid forceful scraping: Using too much force can gouge or scratch the wall. Always start gently and increase pressure only if necessary.
• Don't skip safety precautions: If using chemical adhesive removers, ensure the room is well-ventilated and consider wearing gloves and eye protection.
Removing wall mural borders might seem straightforward, but it requires attention to detail and the right approach. Whether you're making room for new decor or simply embracing a more minimalist aesthetic, understanding the dos and don'ts ensures your walls remain pristine. Remember, it's not just about removal but also about preserving the beauty and integrity of your living space.